 |
| |
 |
| |
 |
 |
 |
 |
| |
Plasterer & Painter in West Wimbledon SW20 - Case Study |
| |
A 2 bed maisonette refurbishment - West Wimbledon SW20 |
| |
|
|
|
| |
This case study looks at a purpose-built 2 bed 1930s maisonette in West Wimbledon, London SW20 requiring updating throughout.
|
| |
Kitchen refurbishment - plastering walls & ceiling, kitchen fitting & painting |
| |
|
|
|
Local areas covered by our London Plasterers:
Earlsfield SW18
Southfields SW18, SW19
Raynes Park SW20
Wimbledon SW19
|
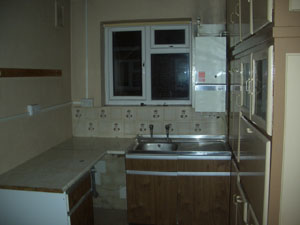
The kitchen required:
 New boiler. New boiler.
 Electrics - rewire using a NICEIC domestic installer. Electrics - rewire using a NICEIC domestic installer.
 New kitchen suite. New kitchen suite.
 Plaster - render, repair, skim walls & ceilings. Plaster - render, repair, skim walls & ceilings.
 Decorate - 'mist coat' plaster, stain & seal worktop. Decorate - 'mist coat' plaster, stain & seal worktop.
|
|
 |
| |
|
|
|
| |
 The first stage was to rip out the old kitchen & survey the extent of the work required. The first stage was to rip out the old kitchen & survey the extent of the work required.
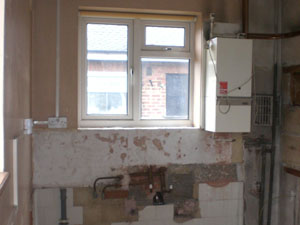
 A new combi boiler was installed by a Corgi registered installer. This included moving it to an adjacent wall where it would fit in with the new cabinets being installed. A new combi boiler was installed by a Corgi registered installer. This included moving it to an adjacent wall where it would fit in with the new cabinets being installed.
 The old electrics were removed & new cables run to provide for a central pendant, 5 spots, under cabinet lighting & a central grid system for Cooker, Hob, Dishwasher & Fan. The old electrics were removed & new cables run to provide for a central pendant, 5 spots, under cabinet lighting & a central grid system for Cooker, Hob, Dishwasher & Fan.
|
|
 |
| |
|
|
|
| |
 The end wall was rendered where the old pipework had been removed. A large hole was repaired & the walls & ceilings were skimmed. The end wall was rendered where the old pipework had been removed. A large hole was repaired & the walls & ceilings were skimmed.
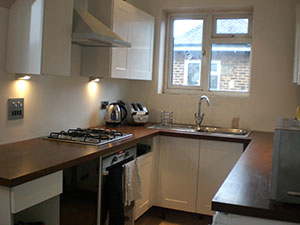
 The kitchen suite & worktop were fitted. The kitchen suite & worktop were fitted.
 The worktop was stained & then sealed with a wax resin to prolong its work life & protect against water & heat damage. The worktop was stained & then sealed with a wax resin to prolong its work life & protect against water & heat damage.
 The new plaster was sealed in preparation for finishing coats. The new plaster was sealed in preparation for finishing coats.
|
|
 |
| |
|
|
|
| |
Bathroom refurbishment - plastering walls & ceiling, bathroom fitting, tiling & painting |
| |
|
|
|
| |
 |
|
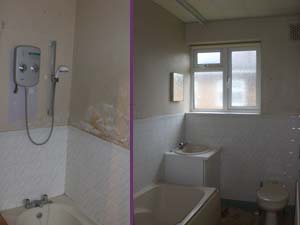
Bathroom required:
 New suite. New suite.
 New electrics. New electrics.
 Render, Re-skim & plaster repair. Render, Re-skim & plaster repair.
 Painting & Decorating. Painting & Decorating. |
| |
|
|
|
| |
 |
|
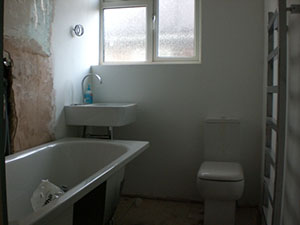
 The old suite was replaced with a modern stylish white suite. The radiator was replaced with a towel rail. The old suite was replaced with a modern stylish white suite. The radiator was replaced with a towel rail.
 The walls were rendered where the pipework had left a large hole & straightened (Float & Set) to make for easier tiling. The walls were rendered where the pipework had left a large hole & straightened (Float & Set) to make for easier tiling.
 The new skim plaster was sealed with 2 painted 'mist coats' Dulux supermatt paint. The new skim plaster was sealed with 2 painted 'mist coats' Dulux supermatt paint. |
| |
|
|
|
| |
 |
|
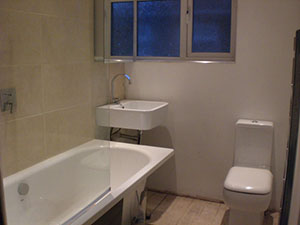
 The area around the shower, sink & bath was tiled & finished with chrome trim. The area around the shower, sink & bath was tiled & finished with chrome trim.
 A bath screen & illuminated mirror cabinet help to transform the look. A bath screen & illuminated mirror cabinet help to transform the look.
 The newly plastered walls & ceiling were painted to seal the plaster in preparation for the finishing coats of paint. The newly plastered walls & ceiling were painted to seal the plaster in preparation for the finishing coats of paint.
|
| |
|
|
|
| |
Lounge - plastering walls & ceiling & painting |
| |
|
|
|
| |
Lounge required:
 Remove old gas fire installation. Remove old gas fire installation.
 Strip walls & ceilings. Strip walls & ceilings.
 Remove picture rail. Remove picture rail.
 Re-skim walls & ceilings. Re-skim walls & ceilings.
 Paint & Decorate. Paint & Decorate.
|
|
 |
| |
|
|
|
| |
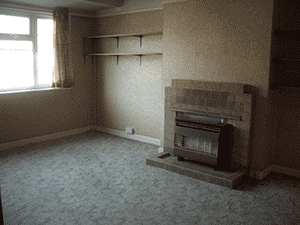
 Having stripped all the wallpaper, the 1950s gas fire installation was disconnected by a Corgi registered engineer & removed. Having stripped all the wallpaper, the 1950s gas fire installation was disconnected by a Corgi registered engineer & removed.
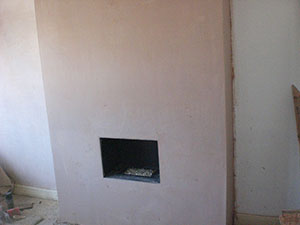
 A new 'hole in the wall' gas fireplace was installed & the chimney breast was then plastered. A new 'hole in the wall' gas fireplace was installed & the chimney breast was then plastered.
 The lounge walls & ceiling were then skimmed with finishing. plaster ready for the sealing mist coats. The lounge walls & ceiling were then skimmed with finishing. plaster ready for the sealing mist coats.
|
|
 |
| |
|
|
|
| |
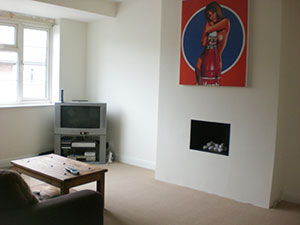
 The amazing transformation is completed with a professional paint job on the newly plastered walls & ceilings. The amazing transformation is completed with a professional paint job on the newly plastered walls & ceilings.
 For a relatively small cost this 1930s lounge has been transformed into a modern chic living space, perfect for getting the most out of your current house or to achieve a maximum sale price in today's tough market. For a relatively small cost this 1930s lounge has been transformed into a modern chic living space, perfect for getting the most out of your current house or to achieve a maximum sale price in today's tough market.
|
|
 |
| |
|
|
|
| |
Master Bedroom - plastering ceiling & walls, painting |
| |
|
|
|
| |
 |
|
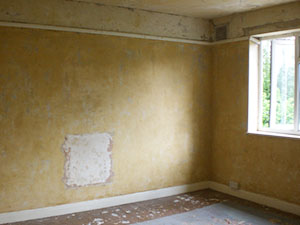
Master Bedroom required:
 Strip walls & ceiling. Strip walls & ceiling.
 Re-skim walls & ceiling. Re-skim walls & ceiling.
 Paint & Decorate. Paint & Decorate. |
| |
|
|
|
| |
 |
|
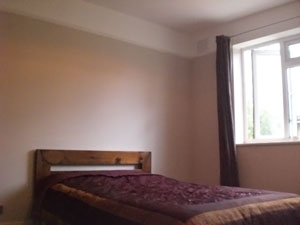
 The master bedroom has been expertly plasterered. The walls & ceiling have a smooth professional finish ready for decorating. The master bedroom has been expertly plasterered. The walls & ceiling have a smooth professional finish ready for decorating.
 A sealing coat of paint on the new plaster & then 2 further finishing coats helps transform this bedroom into an attractive modern living space. A sealing coat of paint on the new plaster & then 2 further finishing coats helps transform this bedroom into an attractive modern living space. |
| |
|
|
|
| |
Bedroom 2 - plastering & painting |
| |
|
|
|
| |
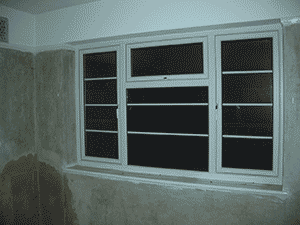
2nd bedroom required:
 Strip ceiling. Strip ceiling.
 Re-skim walls & ceiling. Re-skim walls & ceiling.
 Paint & Decorate. Paint & Decorate. |
|
 |
| |
|
|
|
| |


